Create a GPU Virtual Machine
GPU VMs are NodeShift-powered Virtual Machines running a Linux OS of your choice, the VMs are available with a wide range of GPU, CPU and RAM configurations for all possible application needs.
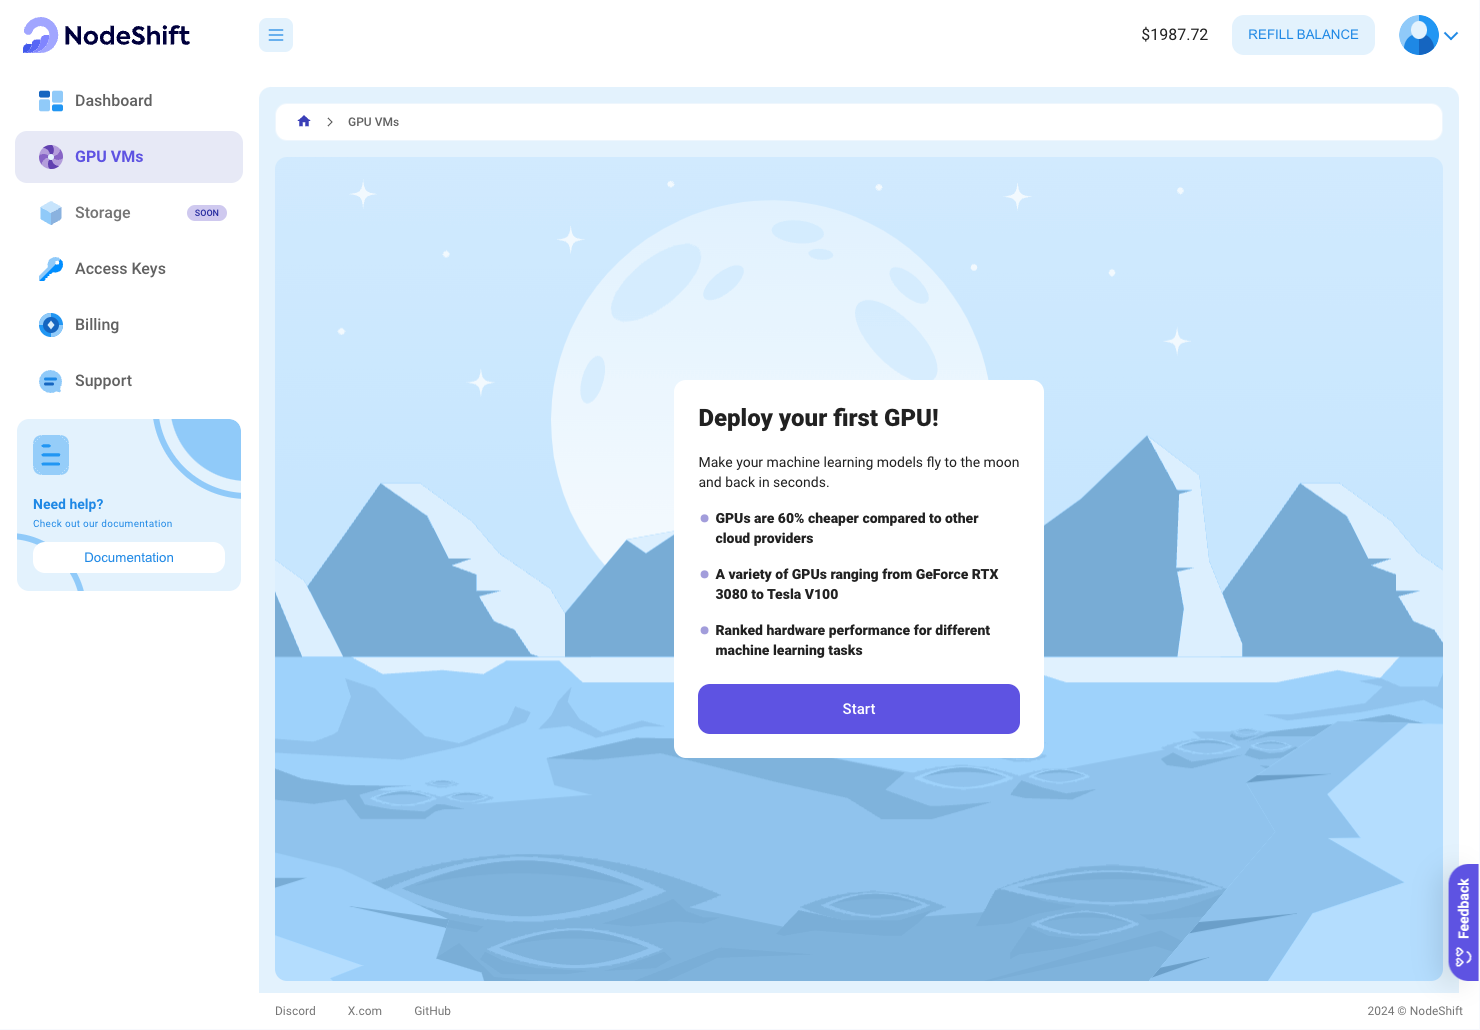
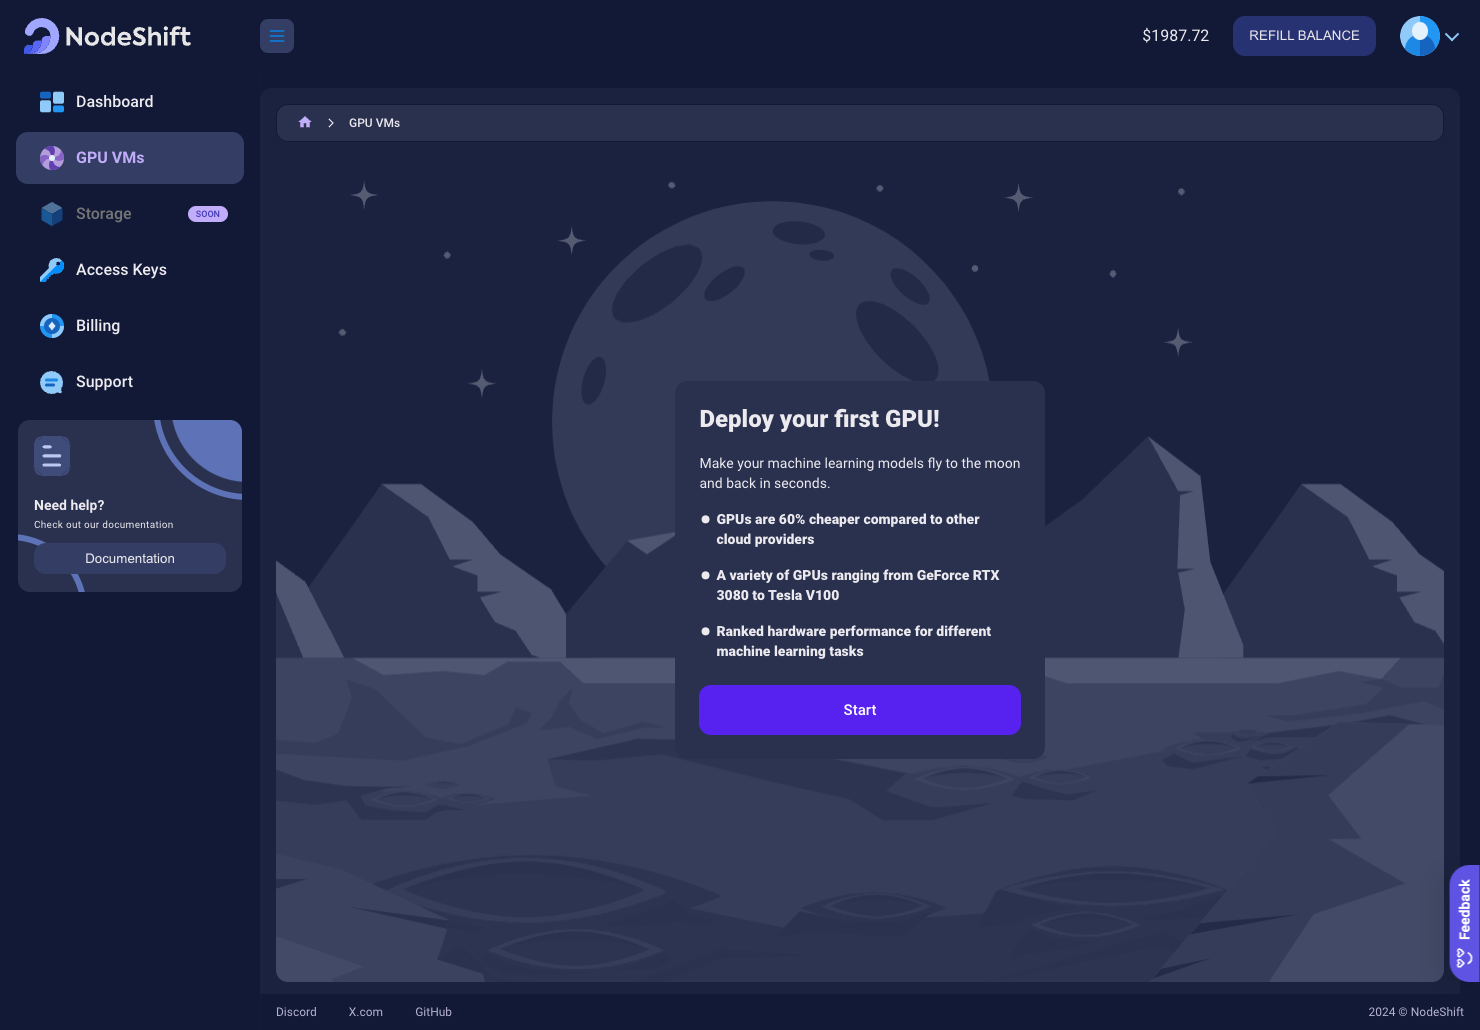
Create a GPU Deployment in the Dashboard
To generate a GPU VM on NodeShift, you have to start by registering for an account. Log in to the account, go to the left-side menu from the dashboard, then choose the GPU VMs option, and then initiate the process by clicking on the 'Start' button.
Choose only what suits your needs
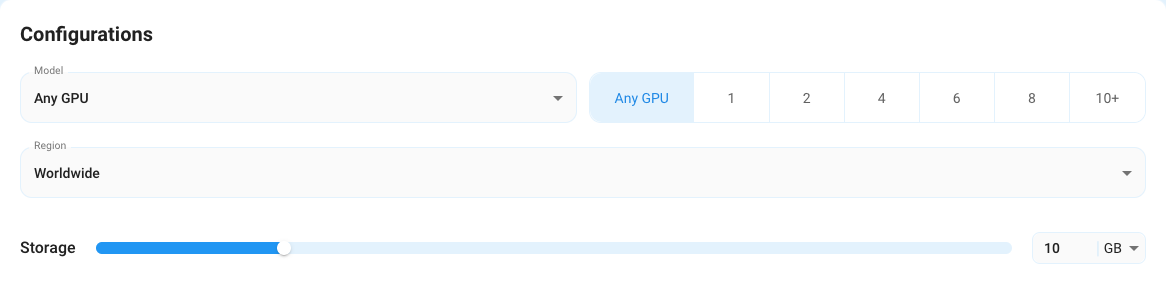
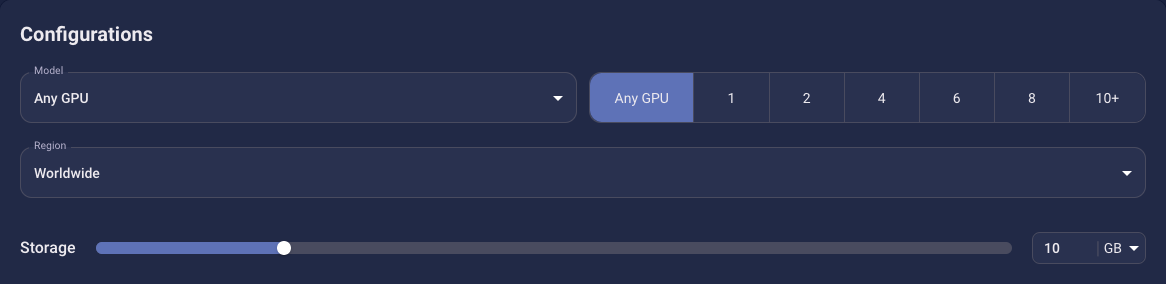
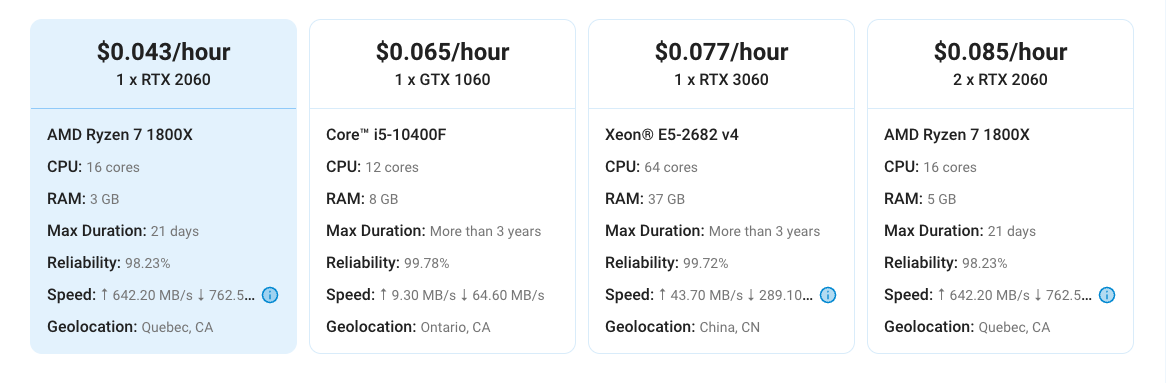
On the Create GPU VMs page, you'll find a range of settings that allowing you to refine your search and narrow down the selection of GPU Virtual Machines available for you to be rented:
-
Select preferable GPU model
-
Select a specific amount of GPUs
-
Limit suggested offers by a certain region
Select offer
Once you adjust the filters to your preferences, you will be able to select from various available options for you then

Select SSH key that will be used to iterract with the GPU
You will be prompted to select from the list of your saved SSH keys


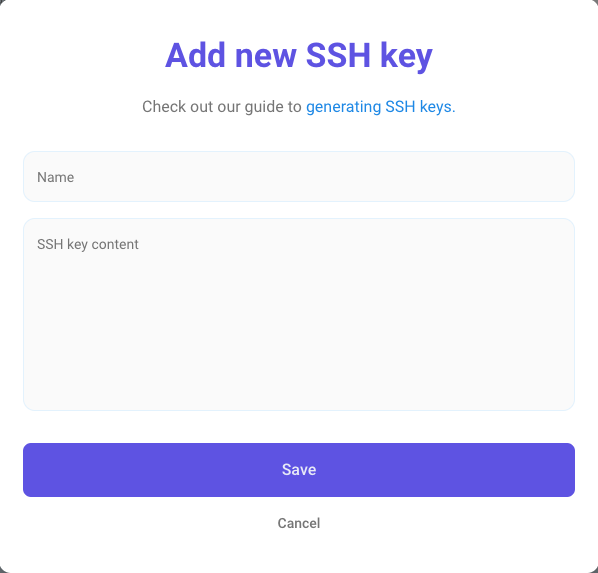
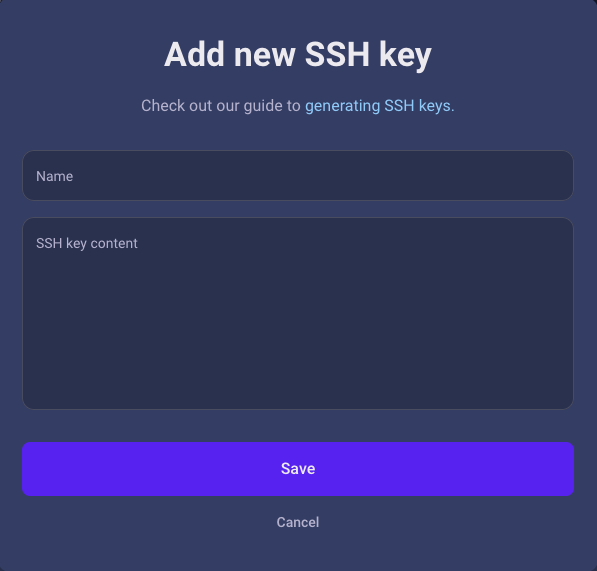
Alternatively, you can input and save a new SSH key. To accomplish this, click on '+ Create new' in the menu dropdown list.
Add new SSH Key
To create a new SSH Key pair on Linux and Mac OS, you can generate a new one using:
ssh-keygen -t rsa
You can then load your SSH key to confirm that it loaded correctly:
ssh-add; ssh-add -I;
After retrieving an SSH key pair, copy and paste the entire contents of your public key, located at ~/.ssh/id_rsa.pub. Ensure to include both the ssh-rsa prefix and the user@suffix.
cat ~/.ssh/id_rsa.pub
If you are using a Windows device, you can leverage PuTTY, which is an open-source SSH client for Windows. This tool facilitates secure connections to remote servers from a local Windows computer.
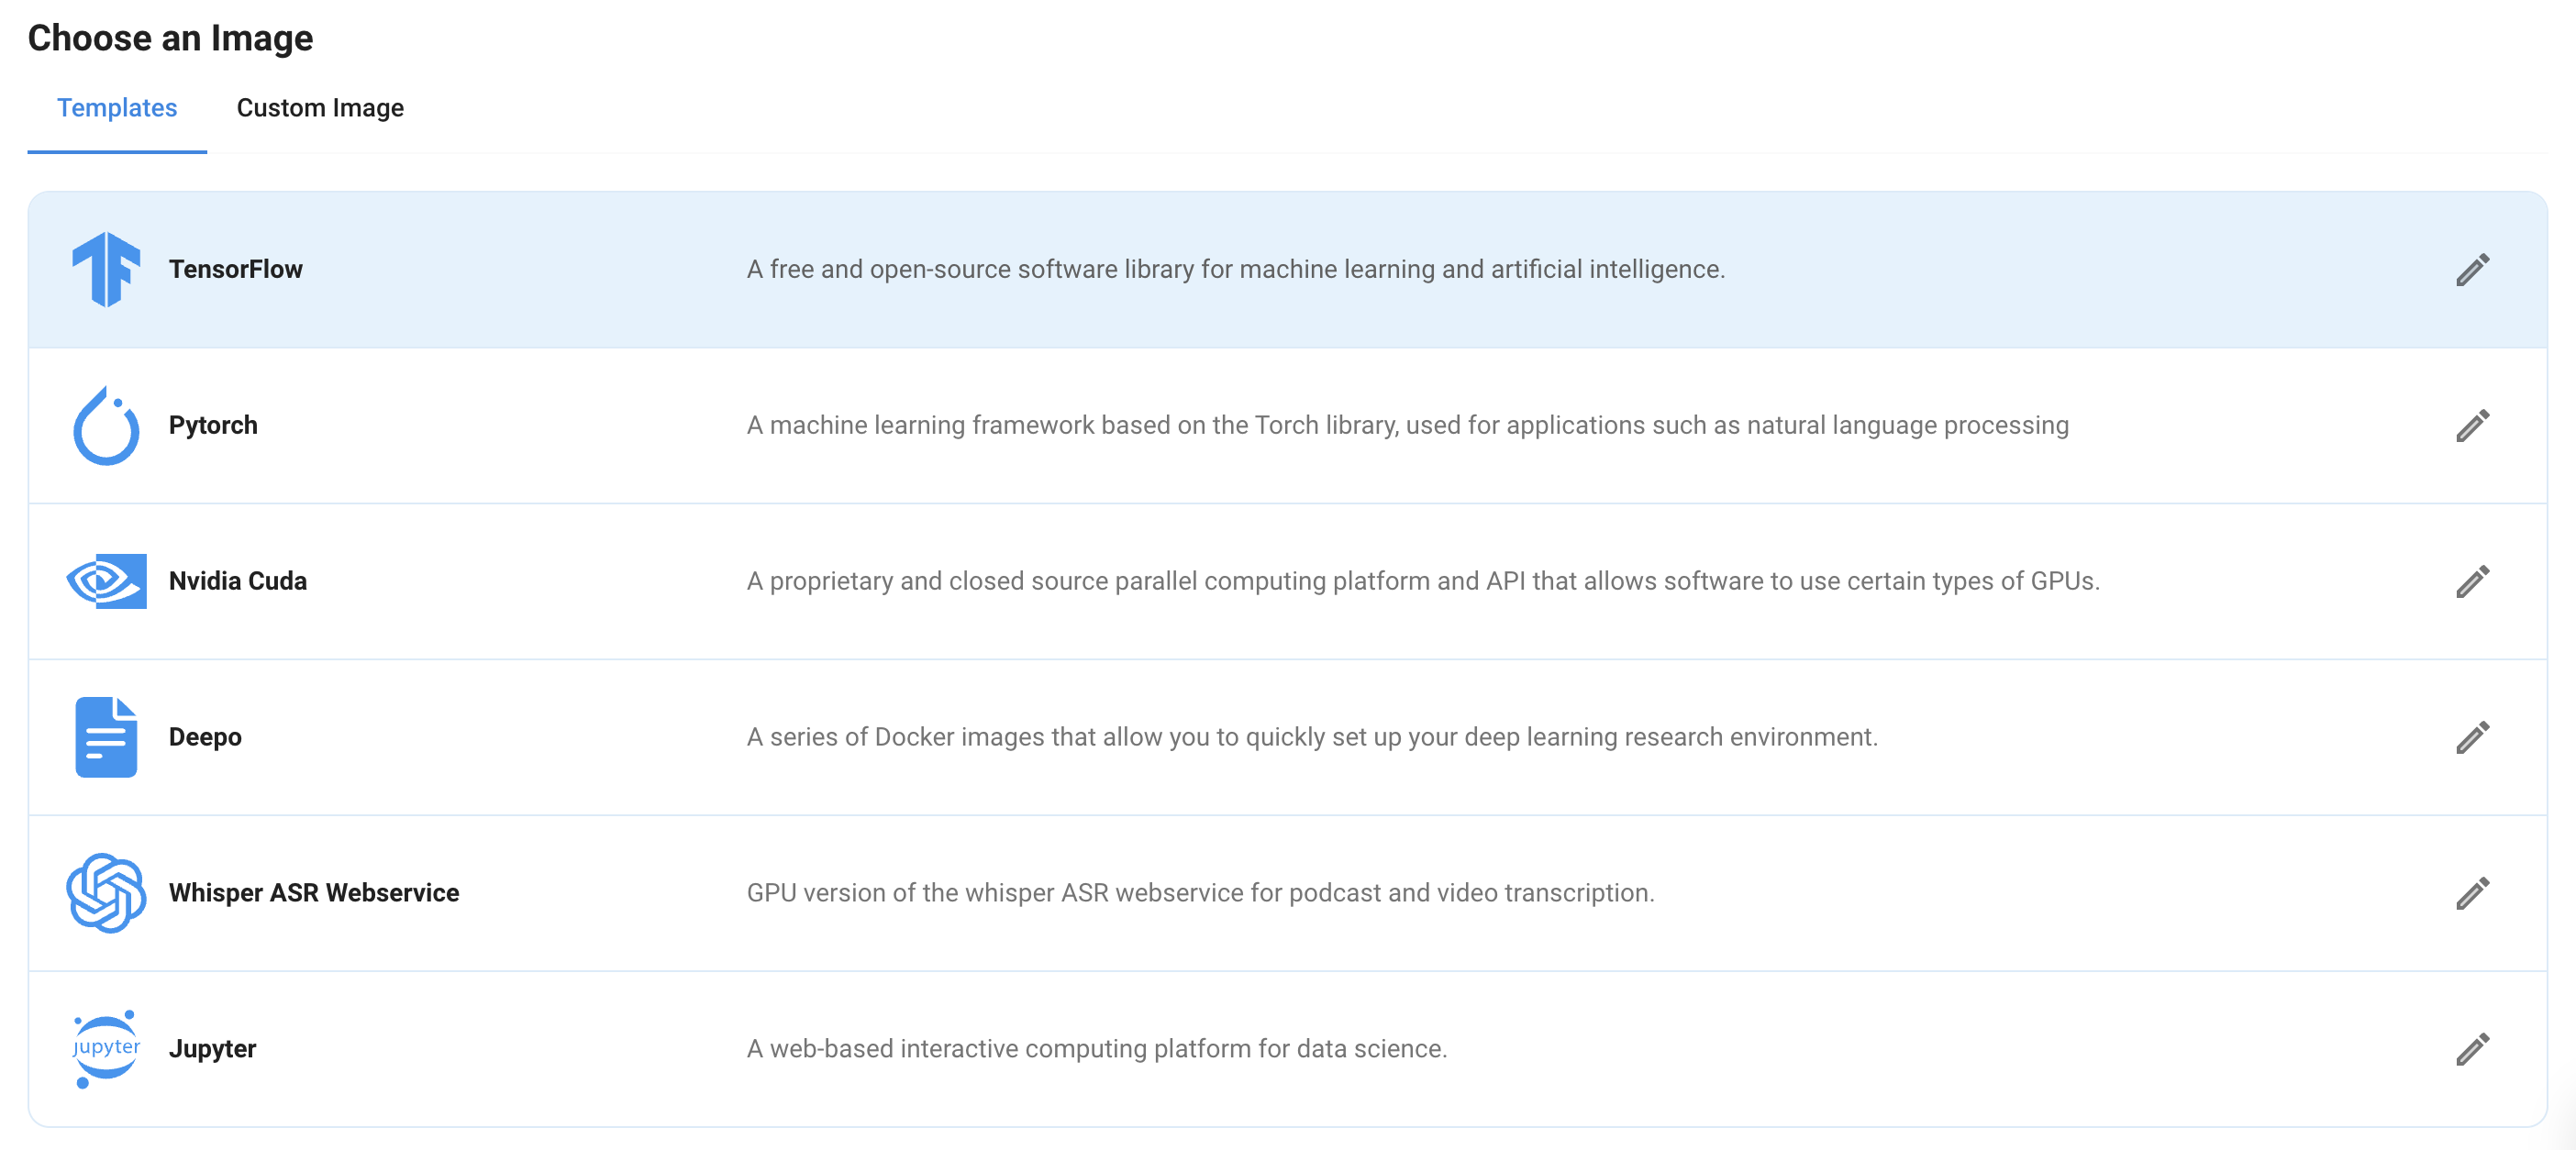
Selecting a Docker Image
Prior to renting out a Virtual Machine, it is recommended that you choose and configure the Docker image that you would like to run on your GPU VM.
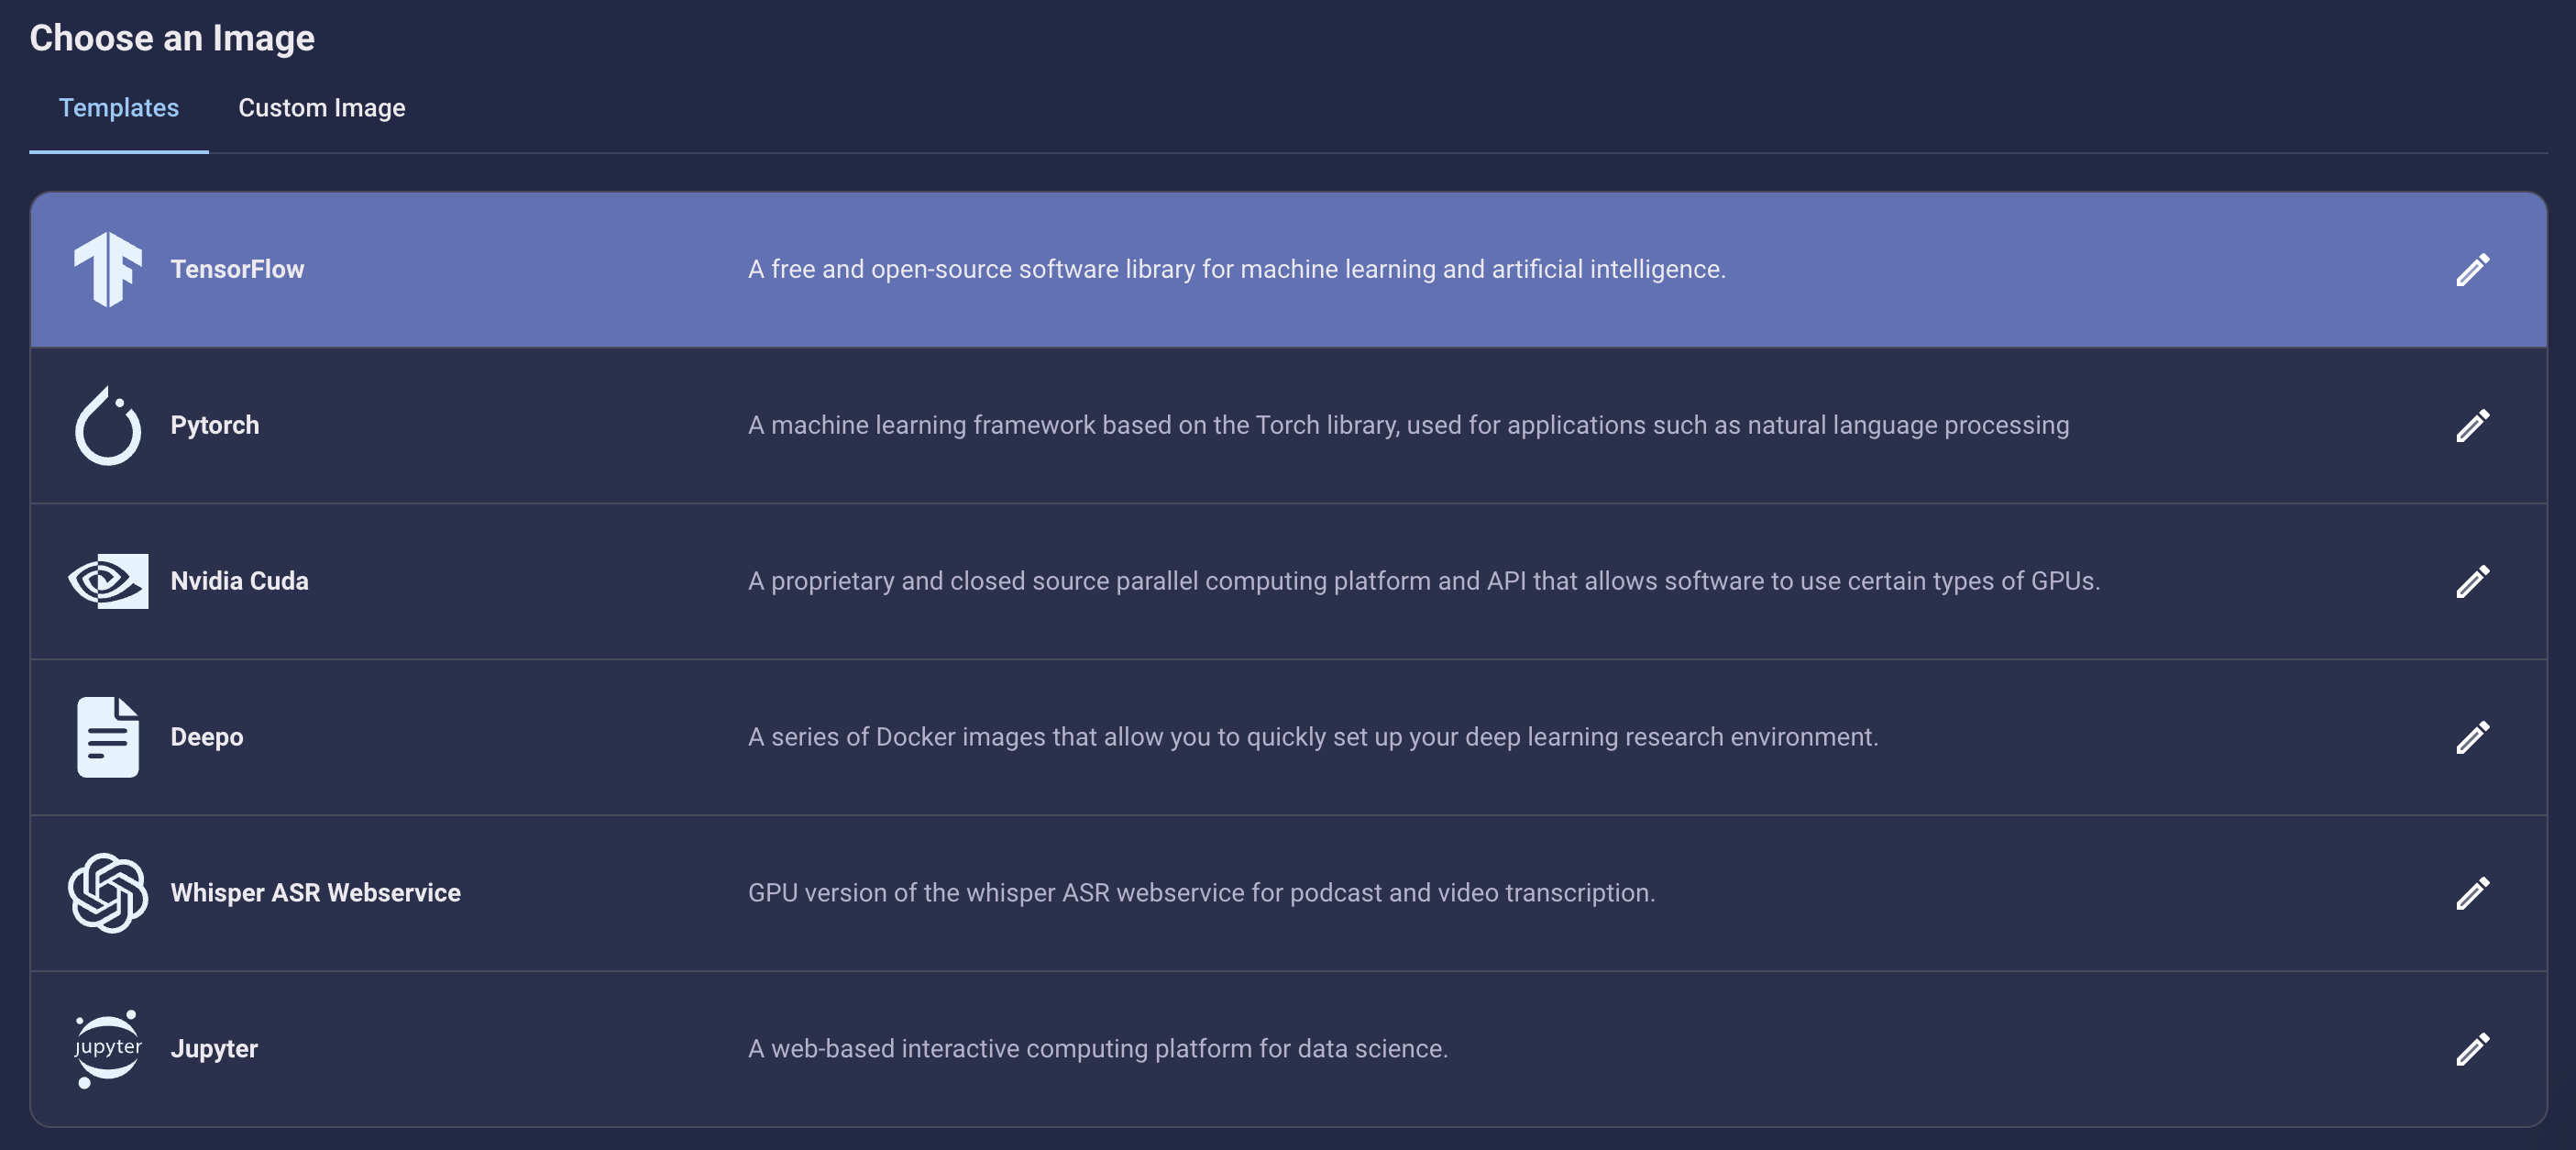
There are two Docker selection options available:
-
Pre-defined Docker Images such as TensorFlow, Stable Diffusion, Pytorch, Jupyter, NVIDIA CUDA, Deepo and Ubuntu
-
Upload a customer Docker Image of your choice
For both pre-defined and custom images, there are three approaches to launching your VM:
-
SSH key similar to Compute VMs
-
Jupyter with a browser based GUI (also contains SSH)
-
Normal Entrypoint with a configured docker run command and pass arguments
Both SSH and Jupyter options for starting a GPU VM allow you to paste a script that will run Bash commands upon a VM’s launch. It is necessary to use a semi colon after each command.
As part of the ‘On-start Script’ section, in both Jupyter and SSH launch modes you can paste in a script that will run Bash commands after the machine starts. Add a semicolon ; at the end of each command.
Connection Types
There are two types of connection methods for SSH and Jupyter notebook VM launches:
-
Direct connections - available only for GPU VMs with open ports. Upon selecting this method, the VM will open the port 22 and/or 8080 after being created. This is a faster approach for data transfers due to connection reliability.
-
Proxy - set up for machines without any open ports, the downside is slower data transfer speed.
Deploy GPU Virtual Machine
After configuring your GPU Virtual Machine Docker Image and selecting a GPU VM based on your workload requirements, rent the Virtual Machine and it will start the deployment process after which you will automatically be taken to the page of the GPU Deployment Instance that you have created. The rent option only works if your account has enough credits available in the profile balance or if there is a primary payment method that is attached to the account.
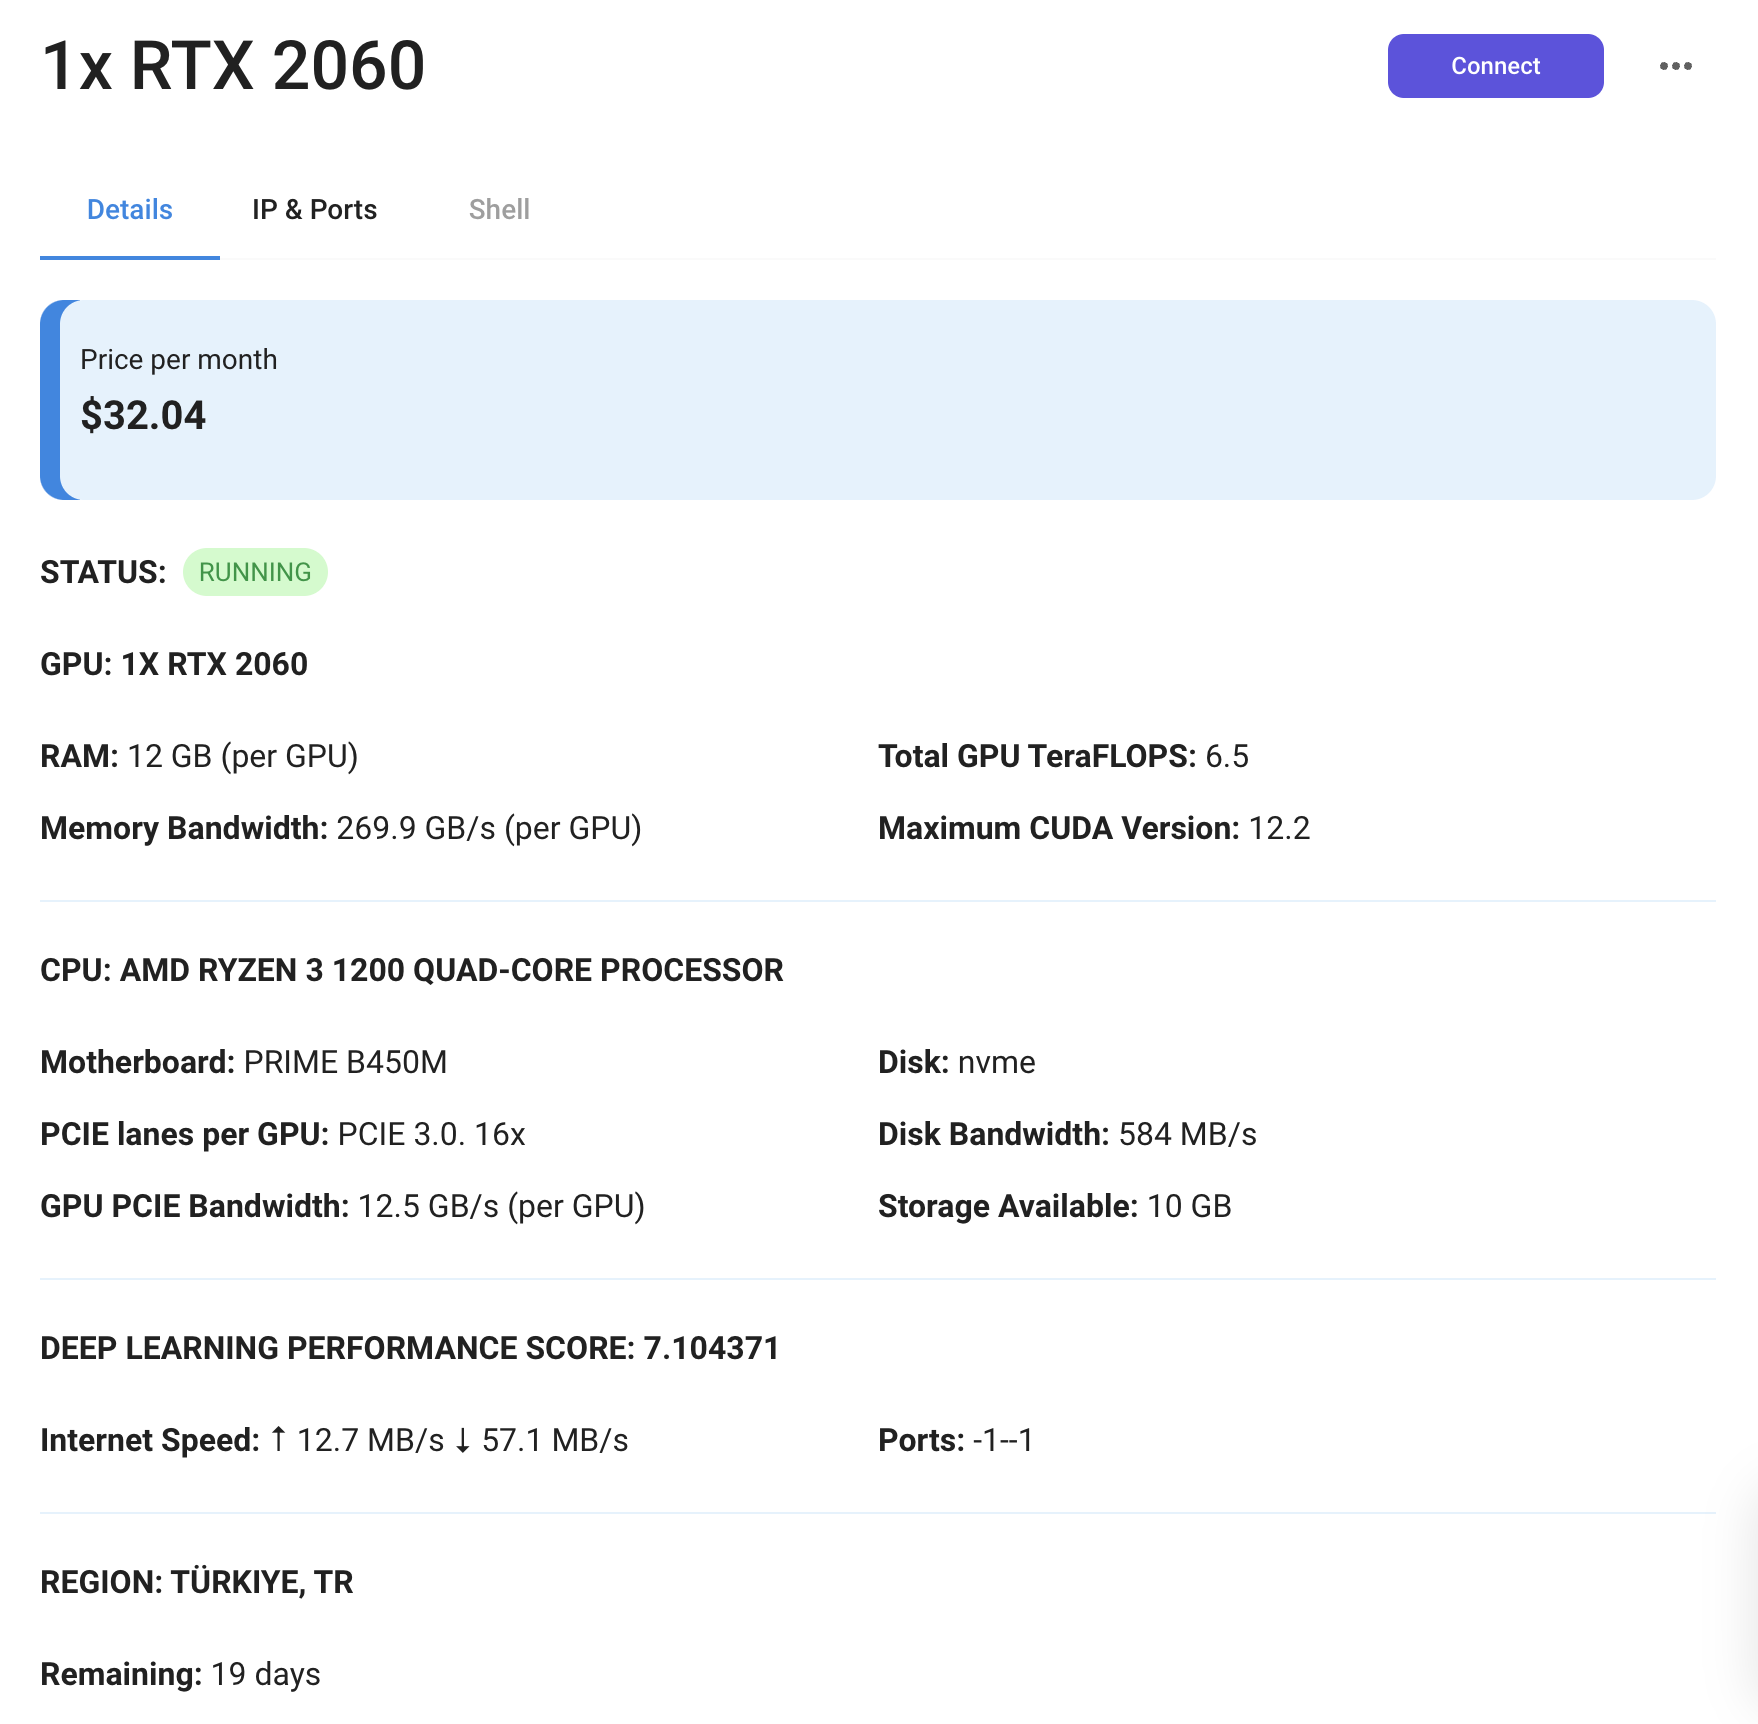
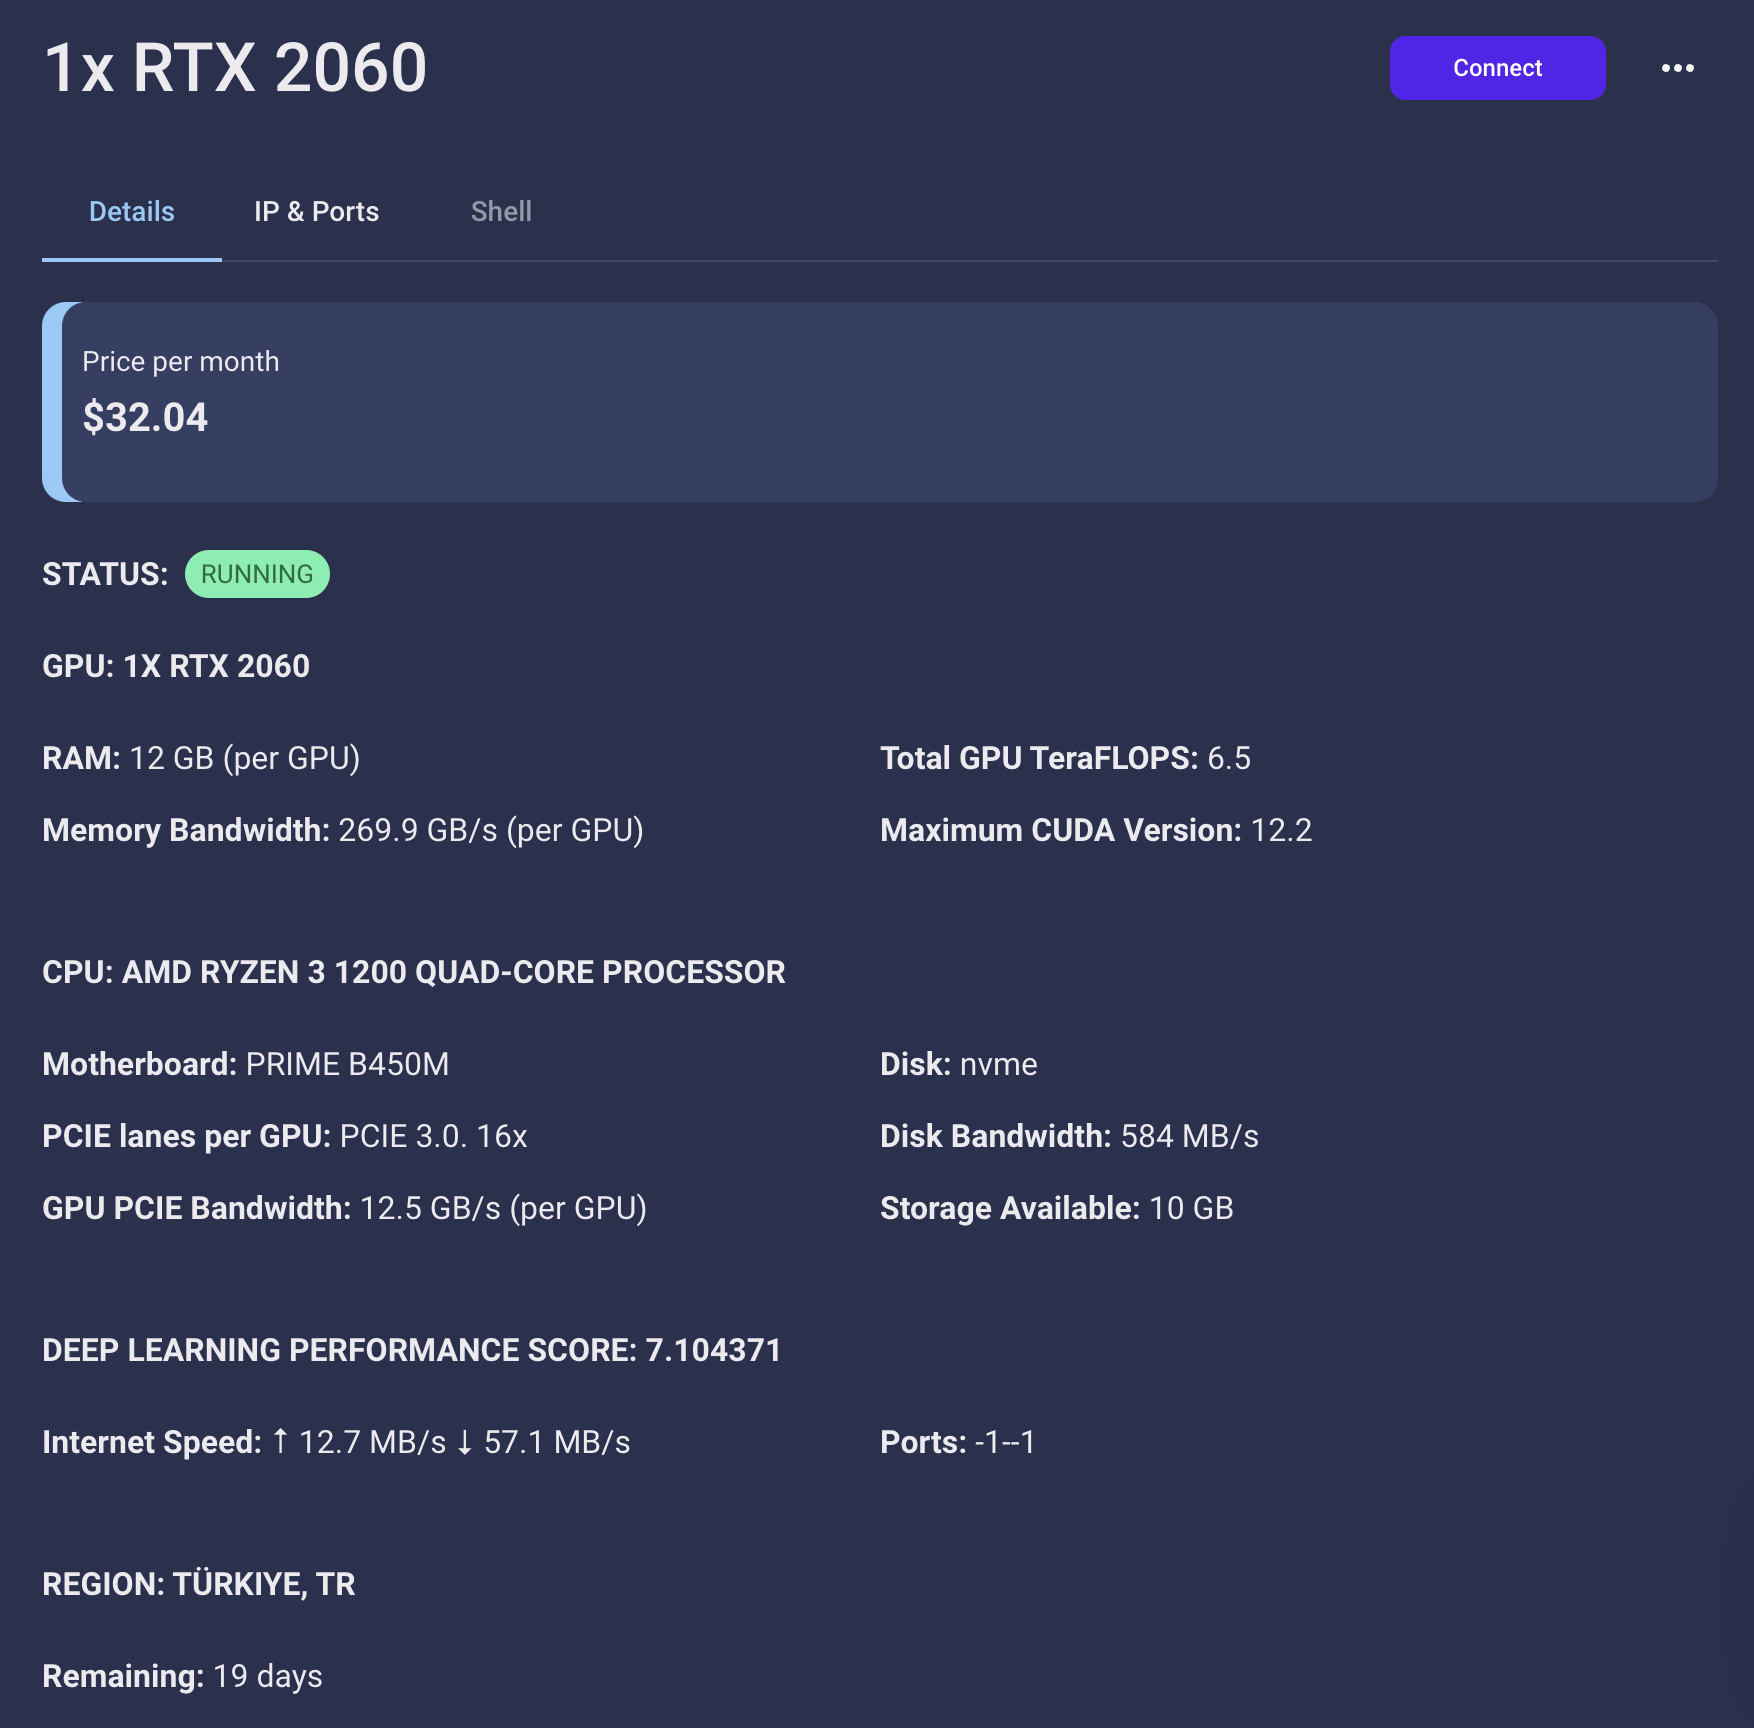
The page of the GPU VM that you created also allows you to edit the name of the deployment and to destroy the Virtual Machine. In order to access the page of your deployed Virtual Machine after it has been created, navigate to the ‘GPUs’ page in the menu where you will be able to see the list of all the Virtual Machines that are in the status of ‘running’ and ‘deploying’.
After successfully deploying a GPU Virtual Machine, you can connect to it through the SSH option by selecting the 'Connect' option which outlines a connection guideline.