VPC Creation
NodeShift's Virtual Private Cloud (VPC) provides enhanced security by creating an isolated network environment for your Virtual Machine (VM) resources. This environment is not directly accessible from the public internet or other VPCs, ensuring that your data and resources are protected from unauthorized access and potential threats.
Creating a VPC
To create a new VPC, navigate to the Networking tab on our platform and click the Start button.
You will be presented with a form that allows you to create a new VPC using one of two approaches: automatically generating an IP range or specifying a custom IP range.
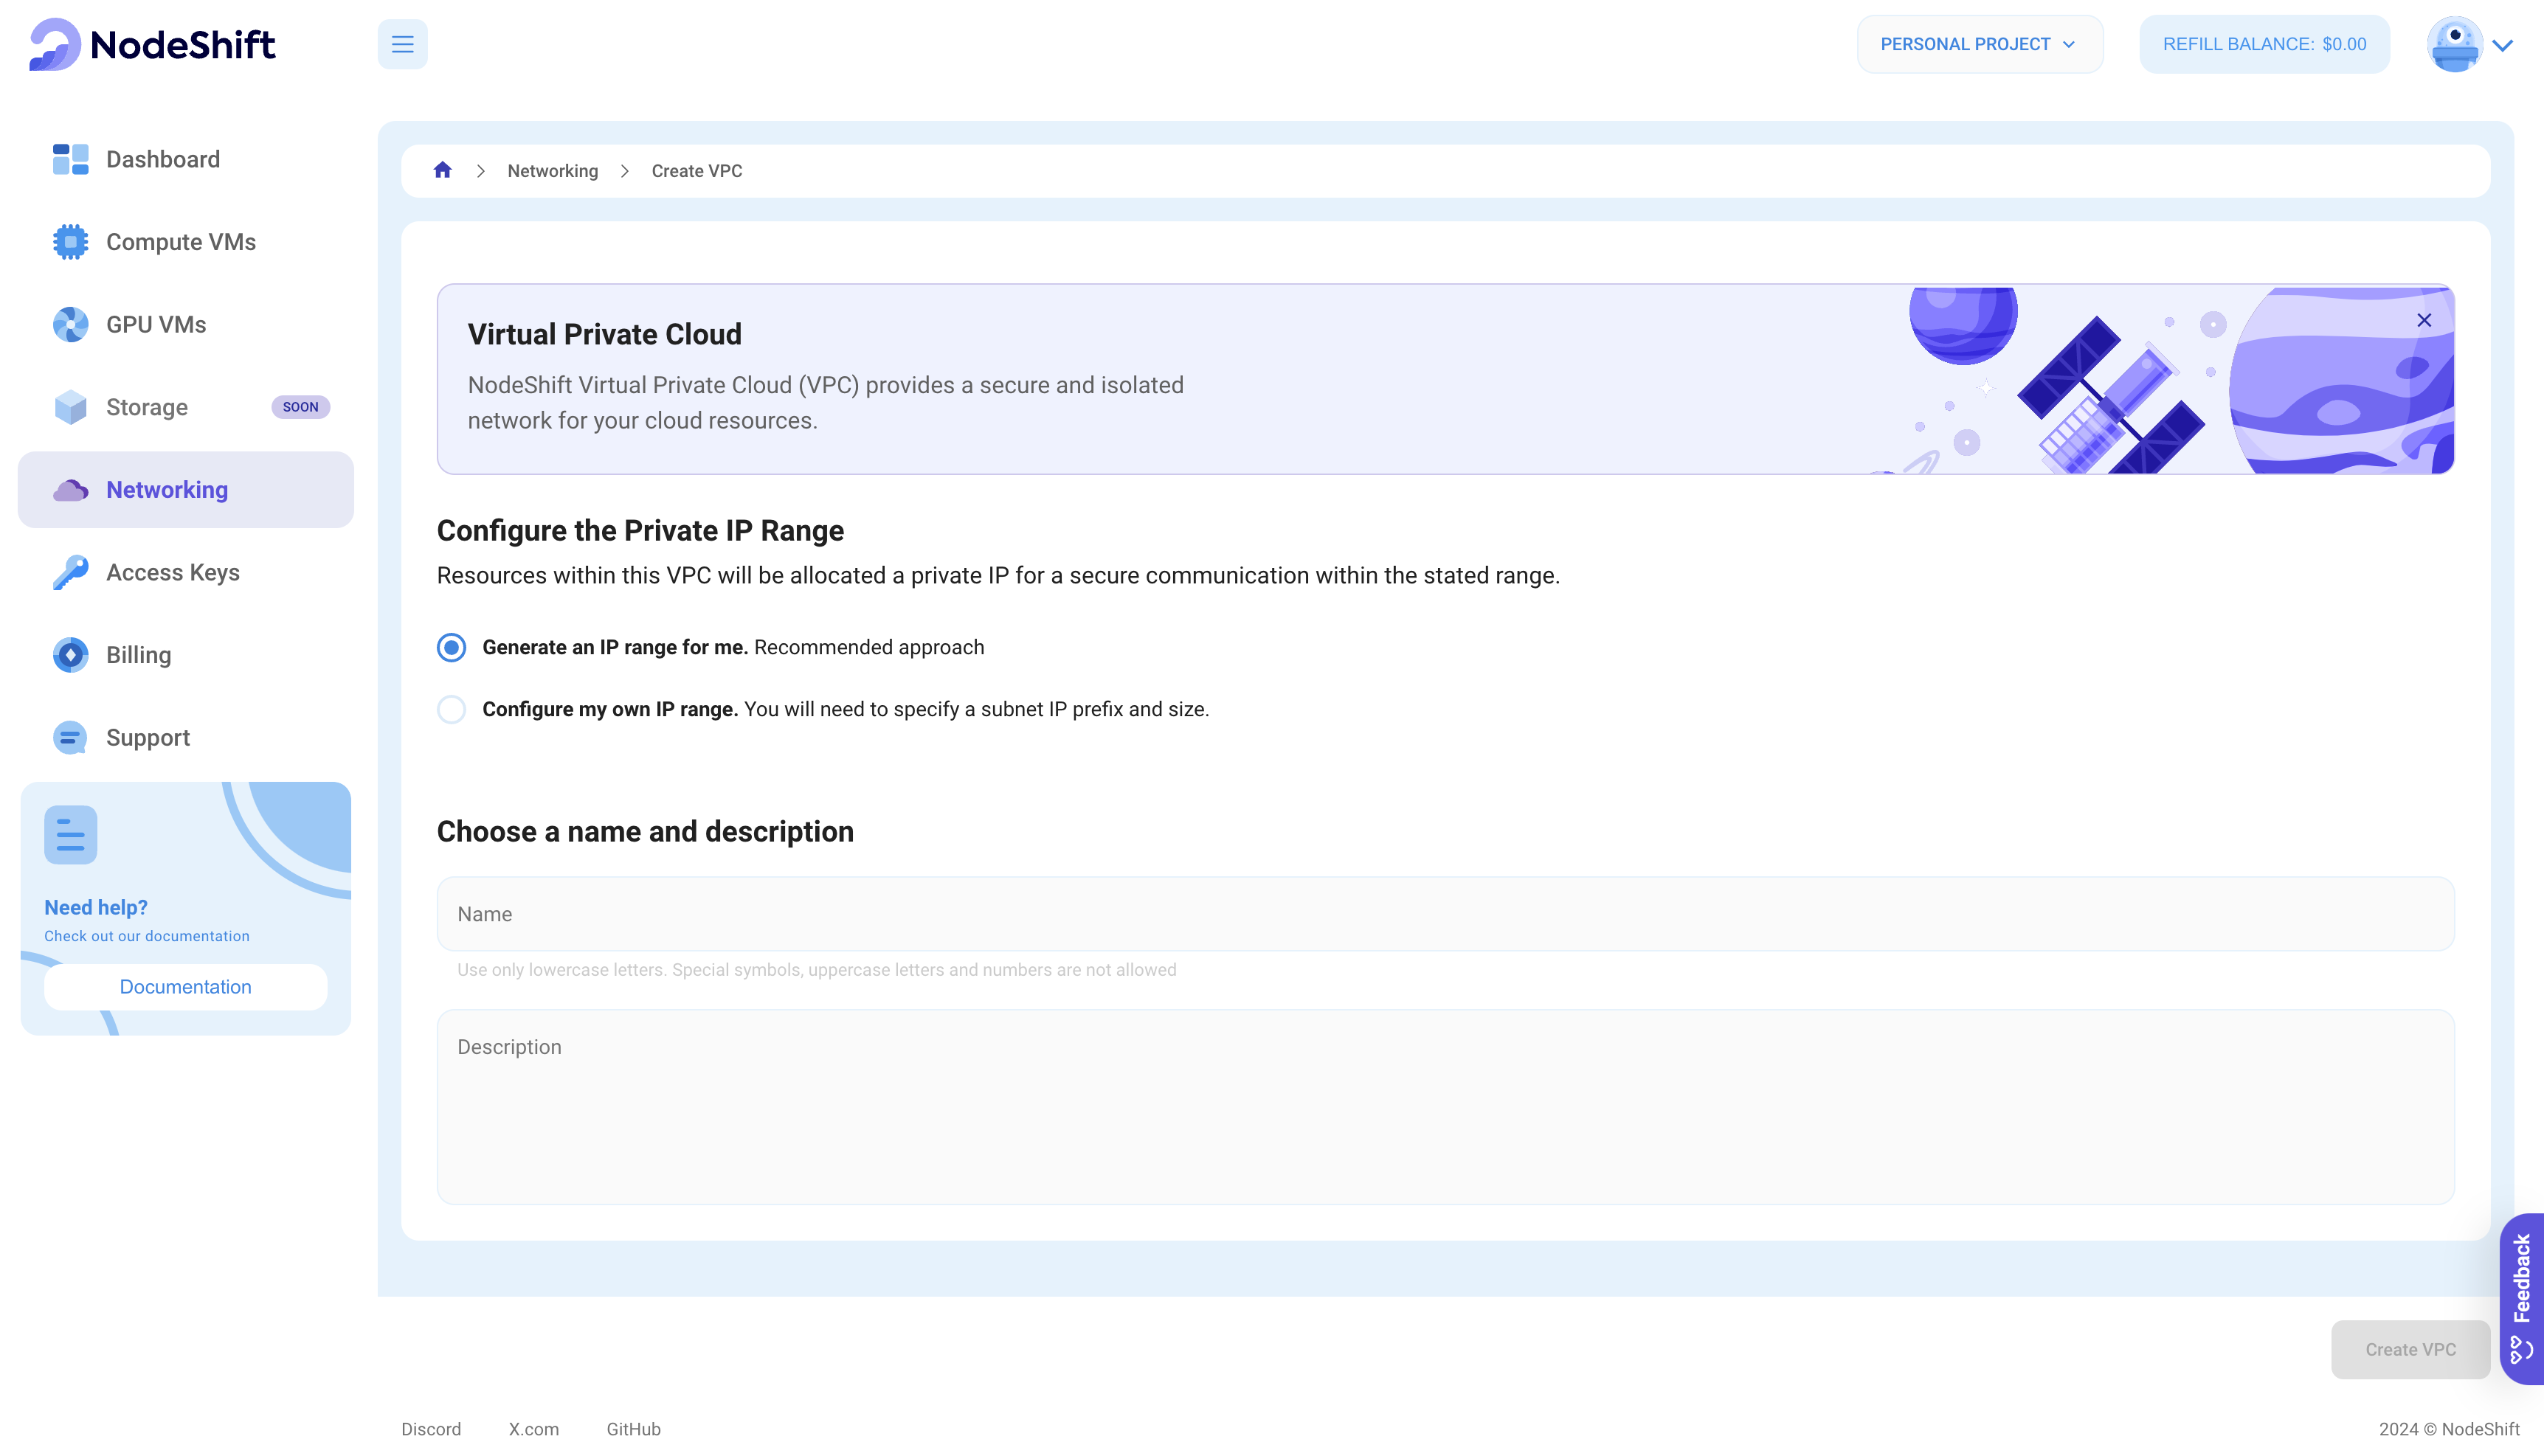
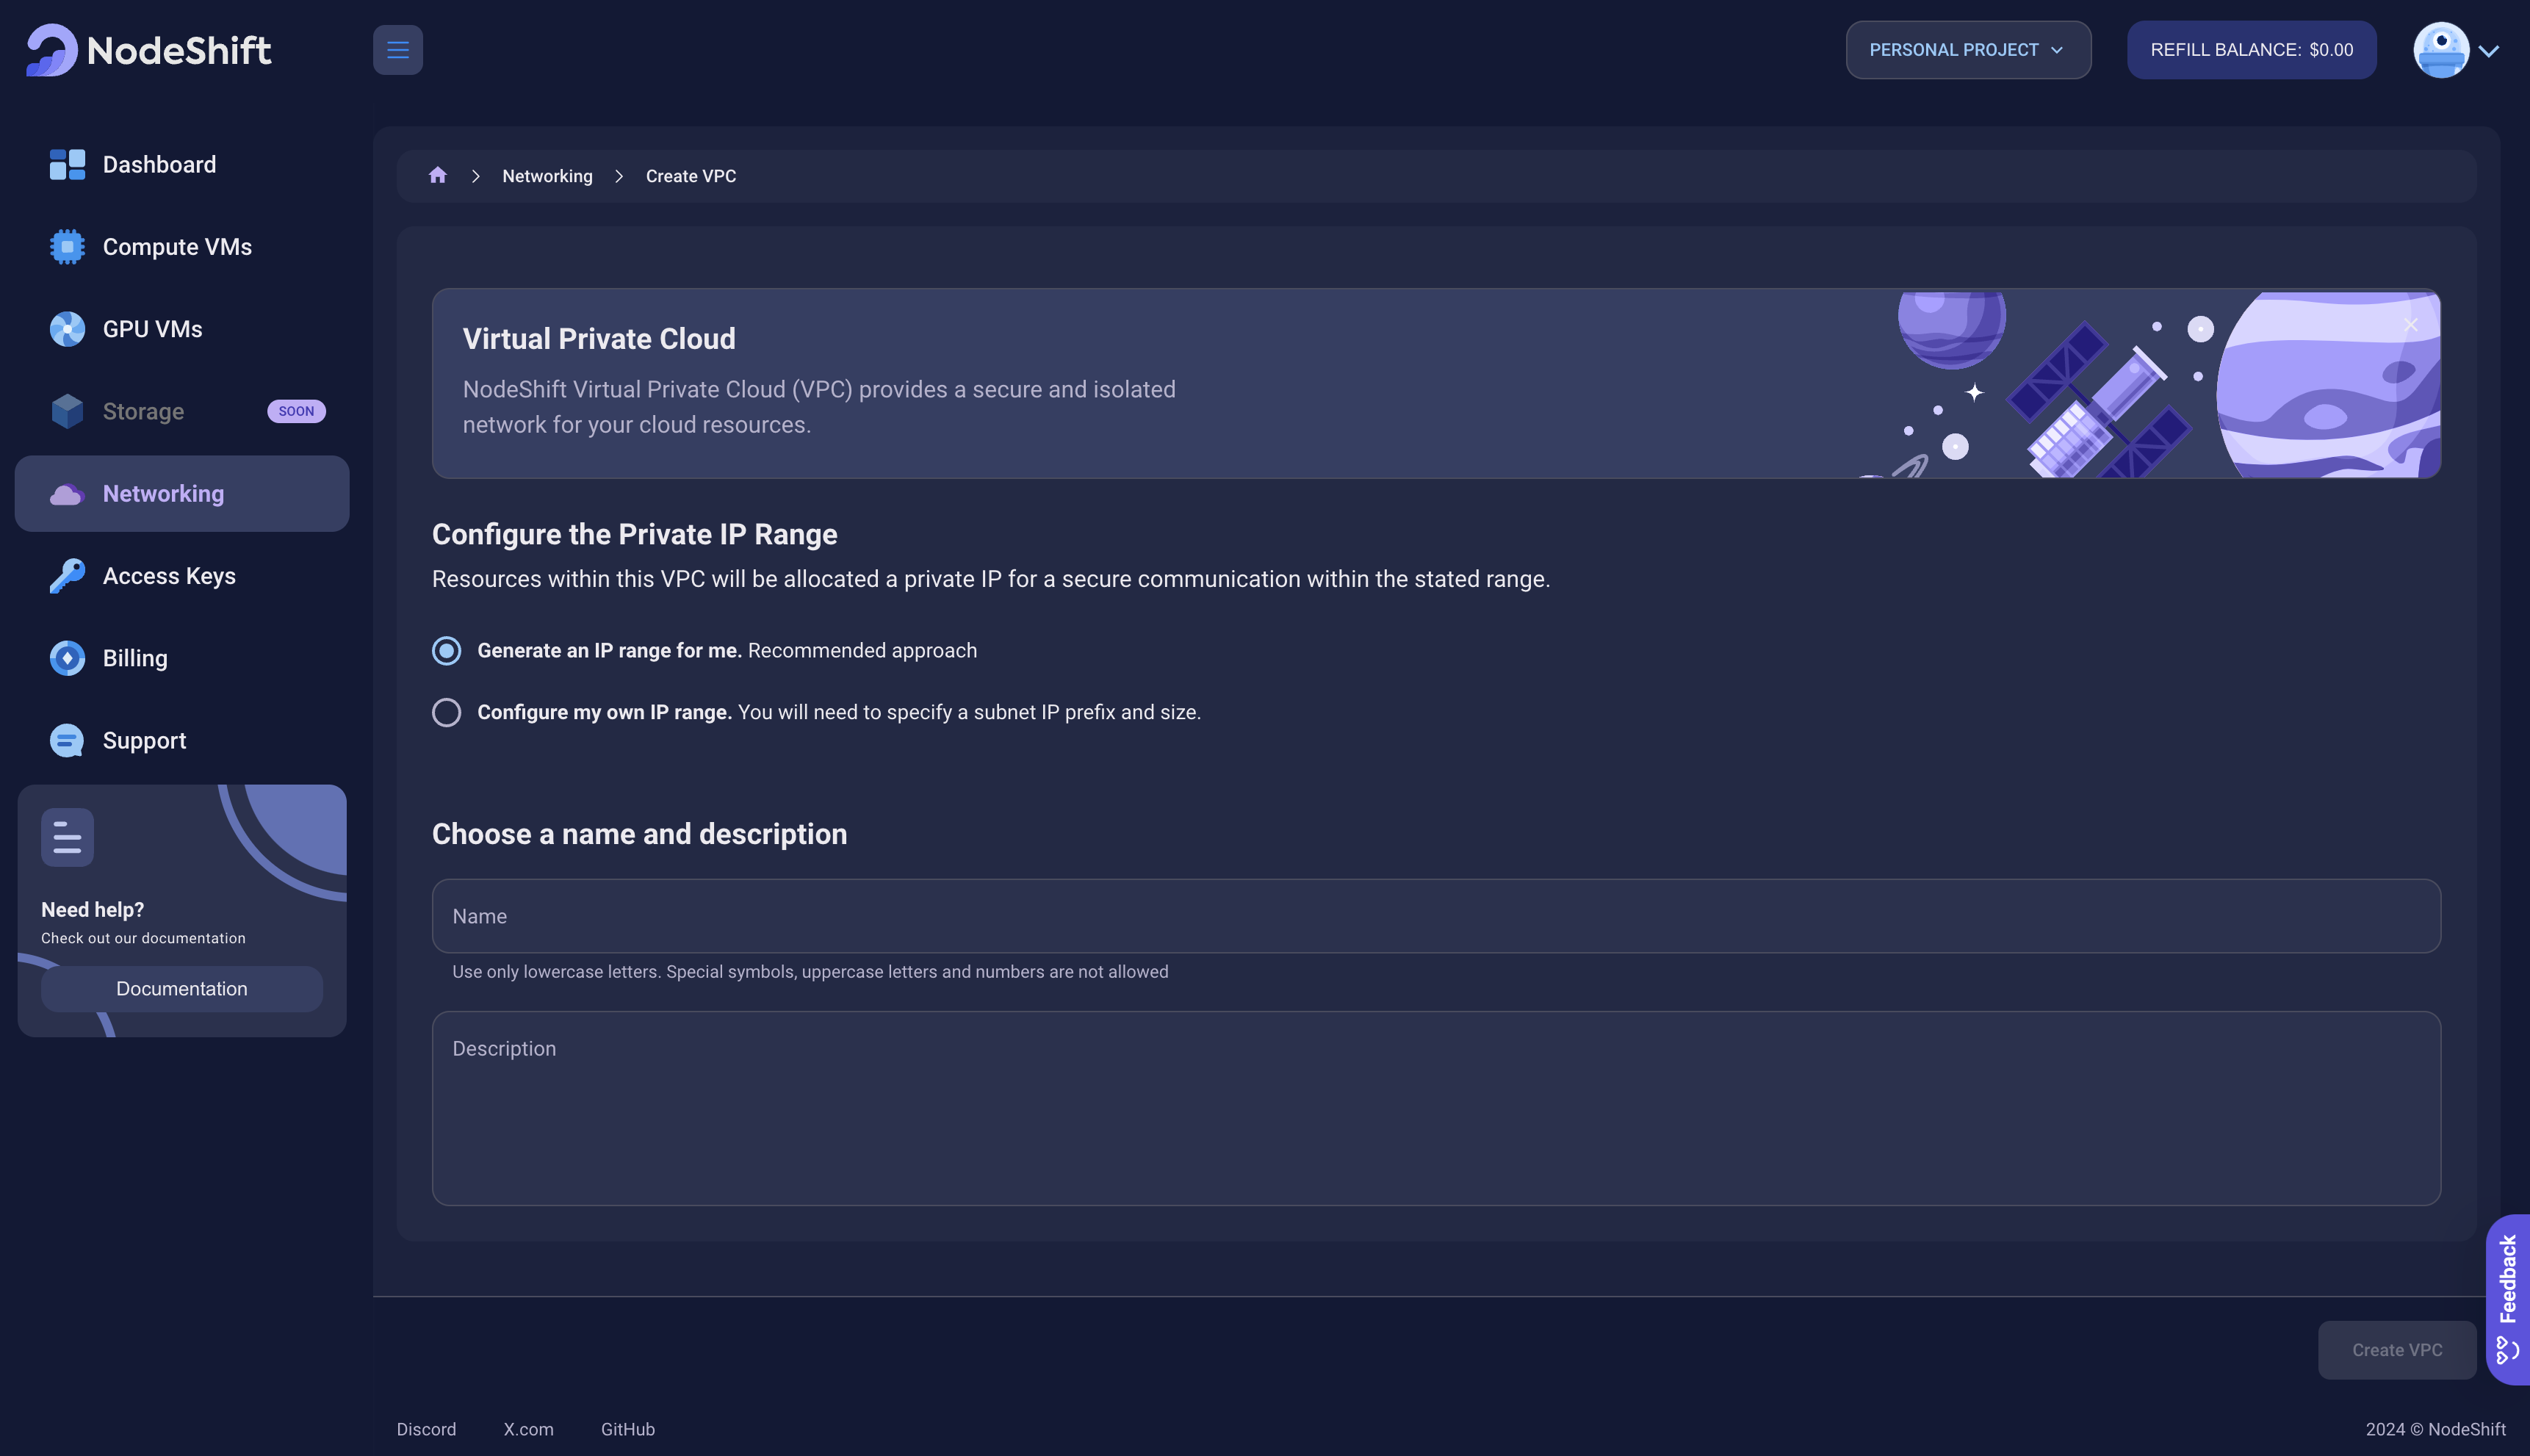
Configuring the Private IP Range
To define the private IP range for your VPC, you have two options:
- Automatically generate an IP range (recommended): Let NodeShift choose an optimal IP range for you.
- Configure a custom IP range: Specify your own IP range by providing a subnet IP prefix and the desired size.
Naming and Describing Your VPC
You can provide a unique name and description for your VPC instance. The name must be unique within your account, as duplicate names will result in a creation error. The description helps you manage and distinguish between multiple VPCs in the future.
Note: Ensure your account balance is positive to create your first VPC.
Finalizing the VPC Creation
Once you've configured your VPC using the provided form, click the Create VPC button to deploy your new instance. After deployment, you can assign this VPC to new or existing Virtual Machines for enhanced security and network management.